In my previous MailChimp Tutorial, “Ways to Grow Your MailChimp List,” I review seven strategies for adding email addresses to your MailChimp list. In that post, I tell you what the big ideas are. In this post, I am going to show you how to do one of those ideas: adding email addresses to your list manually.
Before we get started, let’s get clear about some things.
- This tutorial is right for you if you already have the following:
- A MailChimp account.
If you don’t already have a MailChimp account, read my tutorial, “Which Account is Right for me?” - Already have established a MailChimp list.
If you don’t know how to do that or aren’t sure if you’ve set up your list correctly, visit my tutorial, “How to Set Up a MailChimp List.”
- A MailChimp account.
- This is the right tutorial for you when you want to just add a few email addresses at one time.
- This is not the approach I would recommend if you already have email addresses in another system (like Gmail, Outlook, or another email marketing software system) and you want to add them to your list in MailChimp. I’d recommend importing them. I will cover how to import email addresses in another tutorial.
- This is the right approach when you meet someone and tell them about the content you share via email and they say they would like to receive that content from you. They have given you permission; add them to your MailChimp list.
- This is not the right approach when you meet people, somehow get their email address (like on a business card), and then decide to add them to your MailChimp list without their knowledge and consent. If someone hasn’t directly given permission to you to be added to your list, don’t add them.
Manually Add Email Addresses to Your MailChimp List in Six Easy Steps
- Go to your List Dashboard.
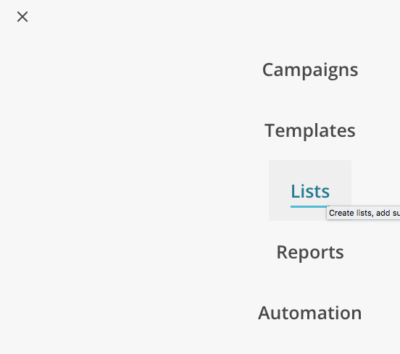
You’ll want to be sure you are on the correct screen within MailChimp. Choose “List” from the top menu.
This is what to click if you are looking at MailChimp from a desktop computer.

If you don’t see the menu I show above, you’re probably in mobile view.
In which case, you will see a menu icon on the left that looks like three horizontal lines:

Click the mobile menu and click “lists.”

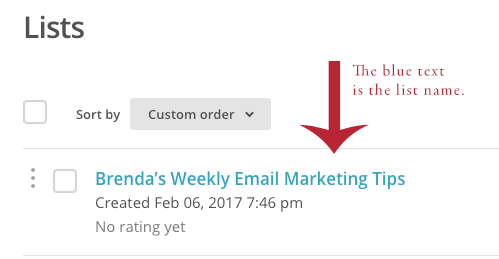
- Click on the name of the list.

- Rollover “Add contacts” and, from the drop-down menu, select the first option, “Add Subscribers.”

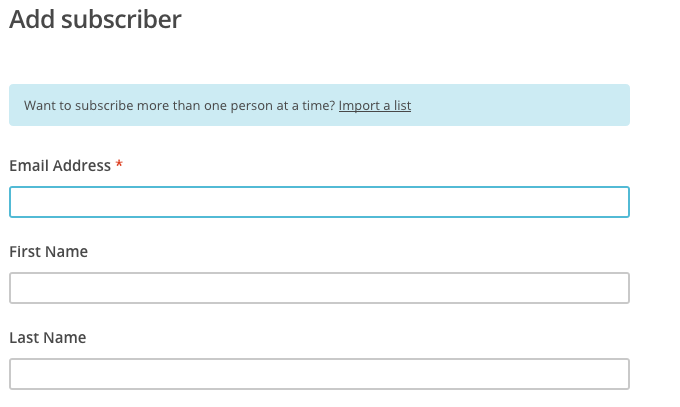
- Enter their information, which will likely include
- Their email address
- Their first name
- Their last name

- Scroll down just a little below “last name” and check the box “this person gave me permission to email them.”

- Click the “Subscribe” button.

Congrats! You’ve successfully manually added an email address to your MailChimp list.
Pro Tip: Confirm your new subscriber is on the list
- Return to your list by clicking on “Lists” in the top menu.
- Click on the name of your list again.
- Check your list for your new subscriber’s name. If you don’t see it and you have a lot of subscribers, you might want to click the “Date Added” header so you can sort by the date added, showing you the most recent additions first.
Your Next Step
Do you have some email addresses you would like to manually add to your MailChimp list? Now’s the time to do it and finally scratch that task off of your To Do list!
The Next MailChimp Tutorial
Next, I’ll be covering how to import MailChimp email addresses from another provider, like Gmail or another email marketing software system into your MailChimp list.
Affiliate? Who me?
Please note that I am not an affiliate of MailChimp or any other service I mentioned in this post and am not in any way being paid by MailChimp (or any of the other services mentioned) to talk about them. I like MailChimp. That’s it. As I write these tutorials, my goal is to share how I use MailChimp to grow my business so you can learn from my successes and failures and so I can become better at serving my clients by growing my expertise in email marketing.