This is part of a series of free Jigsy tutorials that walk you through not only how to do the essentials to build your own website in Jigsy as easily as possible, but also, in each tutorial, I will offer advice along the way to help make your website be its strongest for promoting your business. So let’s get started with today’s Jigsy Tutorial: Adding Text to Your Web Page
This tutorial will teach you:
- Why you should add text before adding color and choosing fonts.
- How to add text to a web page in Jigsy
Why You Should Add Text to Your Site Before Anything Else
Think of your site like a skeleton. You have to have the bones in place before you can add the organs. The organs are wrapped by skin. The skin might get hair and nails and pigmentation. Then you might decide to add some eyes. Then you might adorn the skin with embellishments like makeup, clothing, and jewelry.
Your website is the same. Your theme, fonts, colors, and images should all be decided upon based on the foundation of your site. The foundation of your site is based on your business’ goals. Your navigation menu should be based on your business goals; it is like the skeleton of your site. Your text is much like the organs of a body. It is a necessity before figuring out anything else. If you try to put your site together by working from the visuals first, you’ll probably find yourself redoing your work again and again; and I don’t know about you, but I already have a “to do” list a mile long and don’t need to add to it unnecessarily.
I know. Thinking about your audience, business goals, menu, and text before working on the special features and appearance sounds about as appealing as eating a bowl of raw kale without that amazing champagne vinaigrette from the farmers market that makes everything lovely, but it has to be done.
Each of the foundation pieces to your site plan feeds the next step. If you were to choose furniture for a house before you knew how many rooms you had to work with and what shape and size those rooms were and how those rooms flowed from one to another, do you really think your furniture choices would be the right ones? It’s the same for your website even though websites appear to be limitless and flexible; well, they are, but without the right foundation you will cost yourself precious time and likely cost yourself sales and leads.
So please, please, go through the paces, in order:
- Who is your audience?
- What are your business goals?
- What do you want someone to do on your site that will help grow your business?
- How does your website menu tell your story and direct your user to complete the action you most want them to take?
- What should the text say on each page in your main menu to support your goals?
How to Add Text to Your Website Pages in Jigsy
To begin, you need a text/content block. If you are just working with the default theme and would like to follow along with me, change your theme to the Shooting Star theme. I chose this theme because it is super basic and I’ll be able to easily add in text and functionality.
The Shooting Star theme’s pages have text/content blocks in them already. If you place your mouse over “Welcome to My Website,” you should see an outline appear. The outline will let you know you are looking at a text/content block section in the upper-left corner.
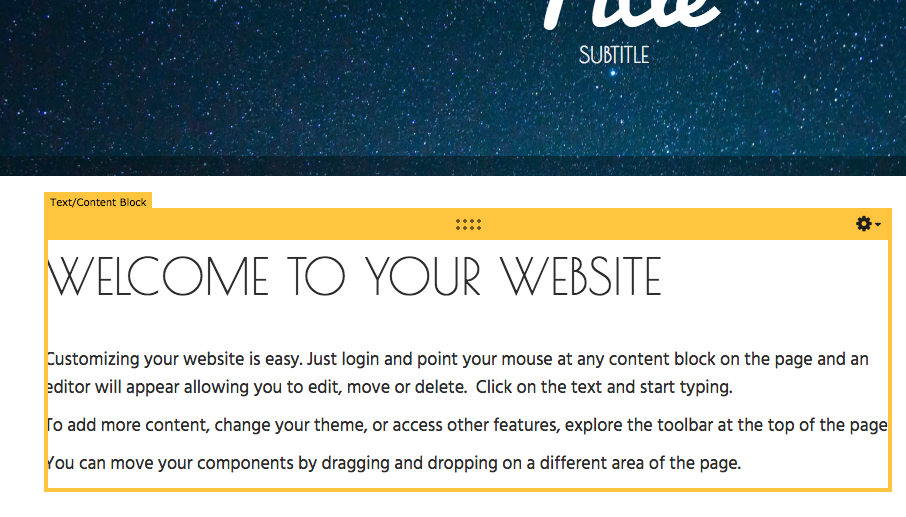
If your theme doesn’t have a text/content block section or you need more text/content block sections, click the Add Content to Page button, which is located on the top toolbar.

After clicking Add Content to Page, choose Components.
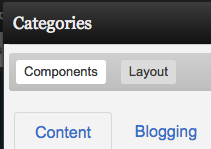
You’ll see a Content tab and below the content tab, your first choice should be Text/Content Block.
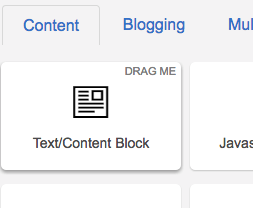
Next, you’ll drag the content block to where you’d like it on your page. Jigsy will tell you where you can place it.
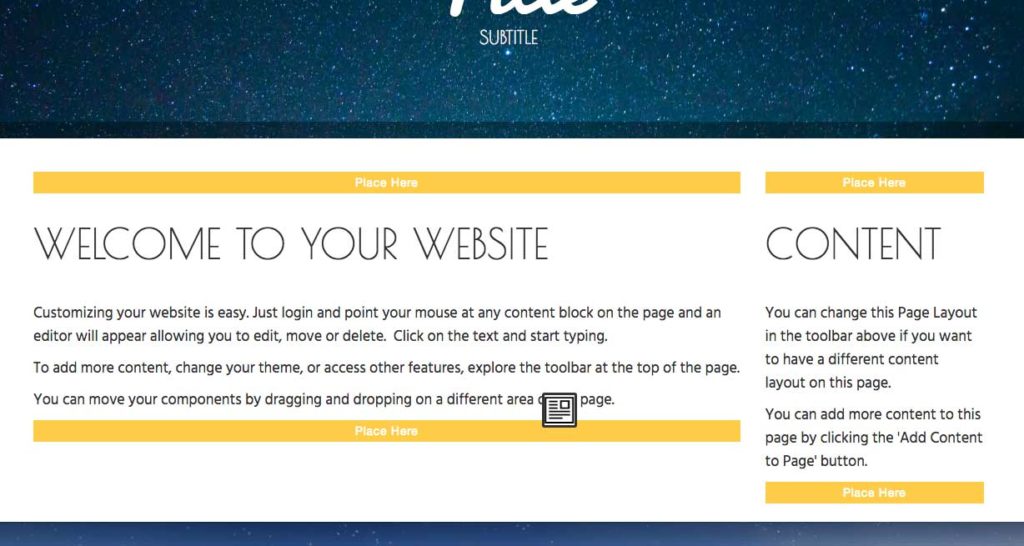
When you have your component in the place you’d like, just let go of the mouse and your component should open up to an editor.
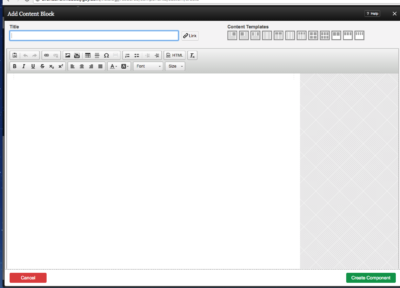
You’ll want to fill out the Title. This will serve as your heading for the section. And you’ll want to type in your text.
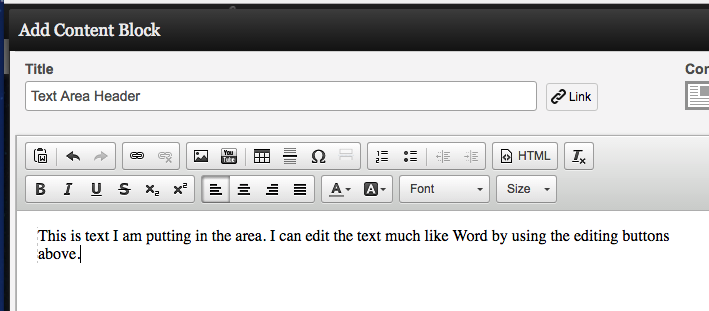
Next, you’ll select the green “create component” button in the lower-right section of the screen.

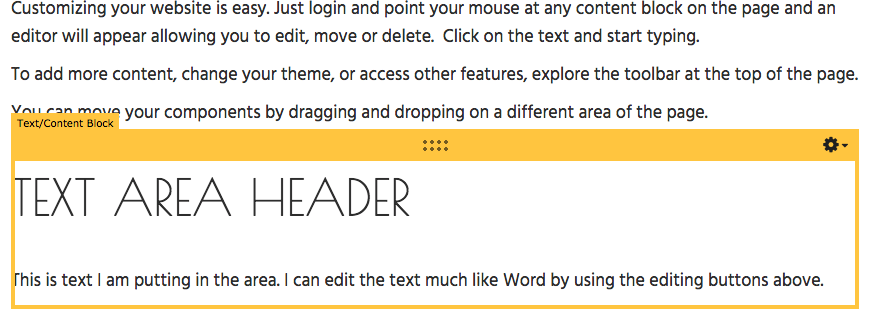
Once you click Create Component, you will be returned to your web page and you should see your text component in place.
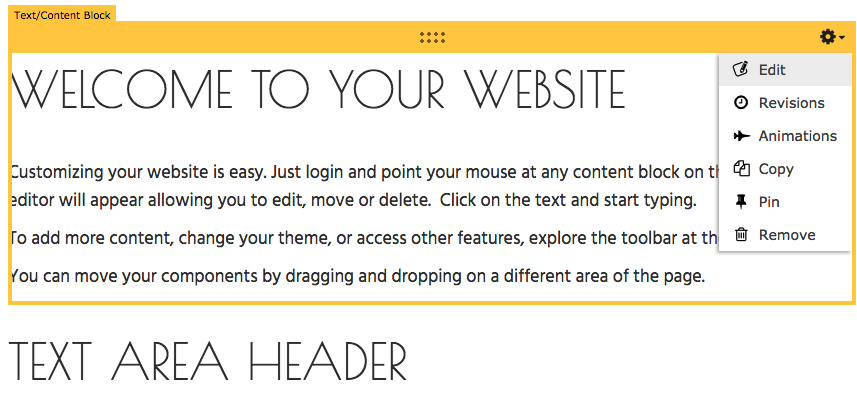
If you’d like to edit a text component that’s already on your page, you just need to place your mouse over a text component and hover over the gear that appears in the upper-right-hand corner. A menu will appear; from this menu, select “edit.”
Once you are through editing your component, be sure to click the green “save changes” button in the lower-right corner of your screen.
