MailChimp hero image testing is a must. This is because you need to make sure your text, background color, and image set up properly in different screen sizes and in email clients that don’t show the image so everyone can clearly read the text that’s supposed to sit over the image.
If you’d like strategies on choosing a hero image, read this post.
If you’d like a MailChimp hero image setup tutorial, read this post.
Test Your MailChimp Hero Image with MailChimp’s Preview Mode
First, you’ll need to be logged into your MailChimp account.
Next, from the Campaign screen, enter the campaign you wish to test by clicking the Edit button.

Next, finish making edits to your campaign, if needed, and then make sure you are in the Design screen of the Campaign Builder. You can navigate to the Design screen by clicking “Design,” located toward the bottom of the screen.

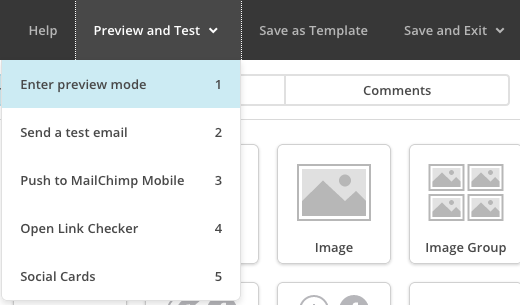
In the upper-right corner of the screen, you’ll see a menu. Click “Preview and Test” and then click “Enter Preview Mode.”
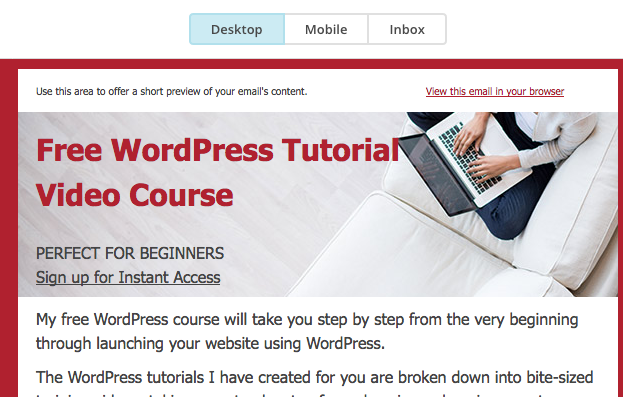
On the left-hand side of the screen, you will see what your campaign will look like. By Default, the first view shown is the Desktop view. When testing your MailChimp hero image, you want to look at all of the text sitting over the image and make sure everything is legible.
In the left-hand pane’s top menu, you’ll see “Mobile” next to “Desktop.” Click “Mobile” to see what your site will look like on a mobile device.
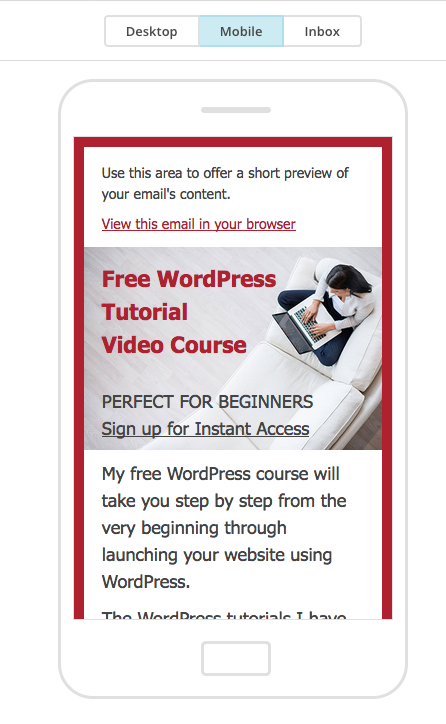
In mobile view, your image will likely change a bit from the desktop view. In my case, a lot more of the height of the image shows in mobile and all of the text on top of the image remains legible.
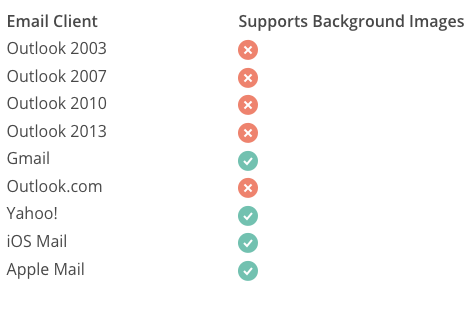
In the left-hand pane’s top menu, next to “Mobile” you will see “Inbox.” Click “Inbox” and you’ll have the option to work with MailChimp’s Inbox Preview tool, which will let you see what your campaign will look like in various email clients. This is a big deal for hero images because there are a number of email clients that don’t display background images. So you’ll want to test to see what your email looks like to make sure the text is still readable and that you like how your hero image section appears without the image. Inbox Preview is a paid MailChimp feature.

If you are a monthly MailChimp subscriber, you get 25 free Inbox Preview tokens per month. Each email client you want to test equals one MailChimp Inbox Preview credit. So if I test a version of Outlook and a version of Gmail, I would use 2 credits. If I change my email after testing and run an Inbox Preview again on the same clients, it will cost an additional 2 credits.
Because you are using credits, you’ll want to be strategic as to which email clients you test; you don’t need to test them all at one time. Since we are interested in testing the hero images in our MailChimp mailer, I would like to test maybe one email client that I think will show my hero image (to be sure the hero image actually shows up) and I want to test at least one email client that I expect won’t show my hero image.
So how do you know what to test for? Well, if you already have a list, you should start by checking to see which email clients are the most popular clients for your particular list.
To do this, you’ll want to close your campaign and go to your Lists page.
From your Lists page, you’ll click the Stats button to the right of the list with which you want to work.

Next, scroll down to the Top Email Clients section of the list’s stats page to see your list’s most popular email clients.
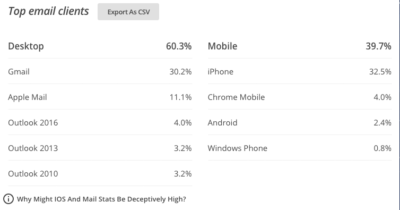
I can see that Outlook is being used by 10% of my audience. It’s a client that generally doesn’t show background images, so I want to test in at least 2 of its most recent versions. I’ll also test in Apple Mail. Why? Because I use Gmail so I can check how my email appears by sending myself a test email. I don’t use Apple Mail; it should show the background image and I want to confirm that yes, indeed, the background image shows and looks good in Apple Mail since 11.1% of my list members use.
From the information above, I’m going to test my email in:
- Apple Mail
- Outlook 2016 or the most recent Outlook.
- Outlook 2013
- Color Blind – Yes, you can test your email for color blindness compatibility with MailChimp’s Inbox Preview tool.
Okay, so now I’ll return to my Campaign screen and click Edit next to the campaign I am interested in testing.

Then I will get back into Preview mode.

Then I will click Inbox.

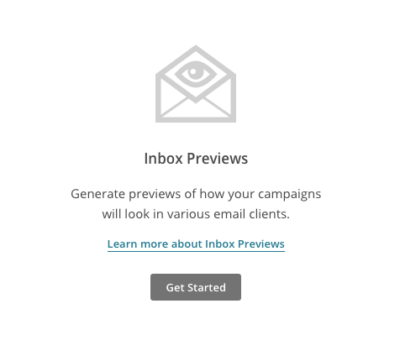
Next, I will click Get Started, which appears in the right-hand pane of the Inbox screen.
Now I just need to select the clients I want to test. You might see some email clients already selected, so deselect the clients that weren’t part of your testing plan.
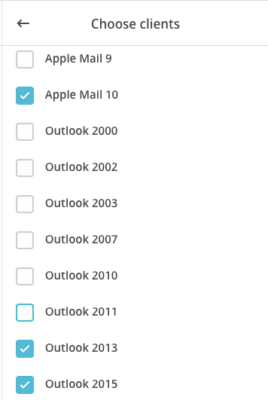
You’ll find “Color Blind” at the very bottom of the choices. Just below “Color Blind” will be the “add clients” button, which you’ll want to click when you are ready for the test to begin.

After you click the “Add Clients” button, you’ll see the names of the email clients you are testing appear in the right-hand pane. There will be icons next to the email client names indicating that the Inbox Preview test is processing.
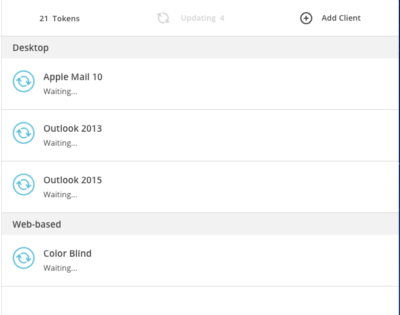
Next, once the test is through processing, you’ll be able to click on the email client’s name and see the preview on the left-hand side of the screen. I checked my Apple Mail preview and it appeared exactly like I wanted it to.
Next, I checked Outlook 2013. Below you will see that I have selected Outlook 2013 on the right-hand side of the screen and its preview is displaying on the left-hand side of the screen.
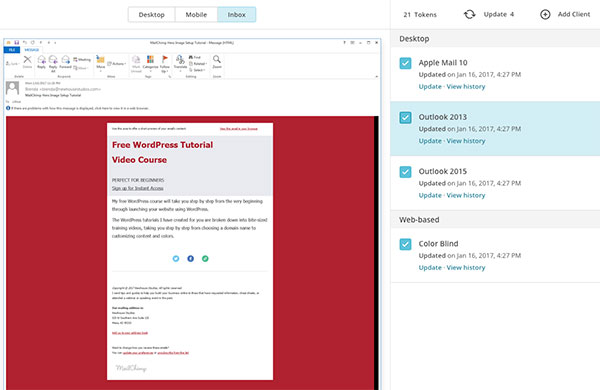
My hero image doesn’t display, as expected, but the text is completely legible against the hero image fallback background color. Mission accomplished.
It turns out that in Outlook 2015 my hero image displayed just fine. This leads me to believe that Outlook 2016 will show my hero image as well.
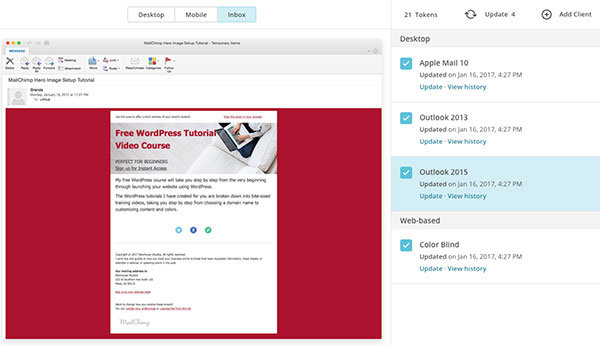
So what did my Color Blind test show?
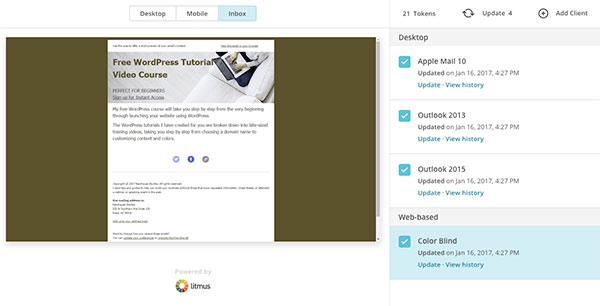
All is high contrast and totally legible in this color blind test. Awesome!
To exit Inbox Preview, you just click the big X in the upper-right corner of the screen and you’ll be returned to your Campaign.
Leave a Reply