Including video as part of your email marketing effort can be an excellent strategy or it can dilute your message. The good news is that creating MailChimp video emails is a very easy thing to do. This tutorial will help you use video in your MailChimp email campaign effectively and will give you the steps to including videos in your MailChimp email.
Strategies for successful emails with video
- I strongly suggest placing your text and call to action buttons in your email first because videos are kind of like kids and dogs: they steal the show and will normally get all the attention. So if you have something to say in writing and you have put a video at the top of your email, most won’t scroll past the video to see the rest of the email’s content. So don’t put your video first in your email.
- Don’t attach videos to your email marketing campaigns. Most providers will reject emails that have attachments, so embedding links to video is the way to go.
- Actually, embedding video in your email marketing campaign is just as problematic as attaching videos. The MailChimp video options take the problems of embedding and attaching into consideration; below I will go through a very reliable way to include videos in your MailChimp email campaign.
- People are impatient. Keep your videos as short as possible.
- People need repetition. If you hope to sell within your video, ask for the sale multiple times, not just at the end or beginning. You don’t have to ask verbally; you can include text overlays with hyperlinks that appear as the video is playing.
- A video that auto plays is usually unwelcome unless the person knows before they open the email that they are about to watch a video. It’s better to give them the option to start the playing of the video rather than having the video automatically play when they open the email.
Steps to creating MailChimp video emails
You’ll begin your MailChimp email campaign like you normally would by choosing your audience, setting your email subject line, from address, and other settings.
Next, you’ll add your content. When you get to the portion of the email where you’d like to include video, you can choose from a number of ways to include it. I like to use the MailChimp Video Content Block. The video content block is a drag-and-drop element that pretty much does all the work for you and it is very quick to use, which is why it is my preferred method.
First, select a video content block by clicking on “Video” and holding down your mouse. Then begin to drag the video content block.
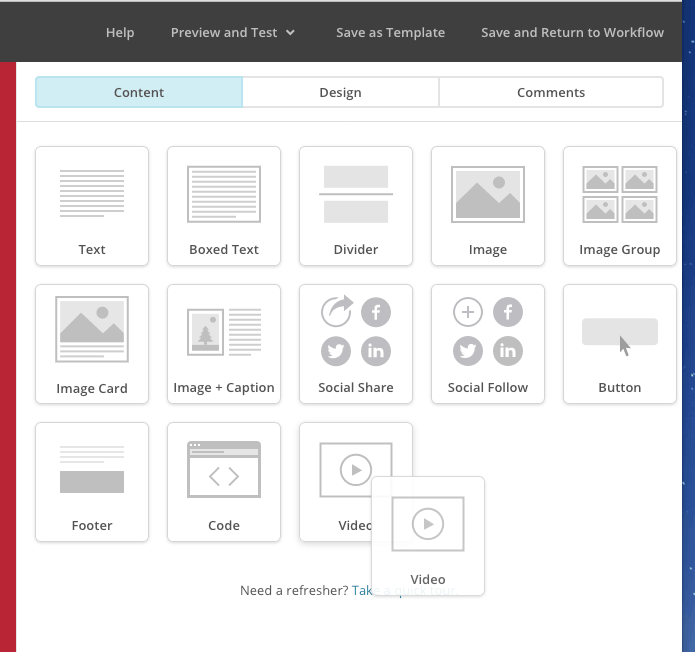
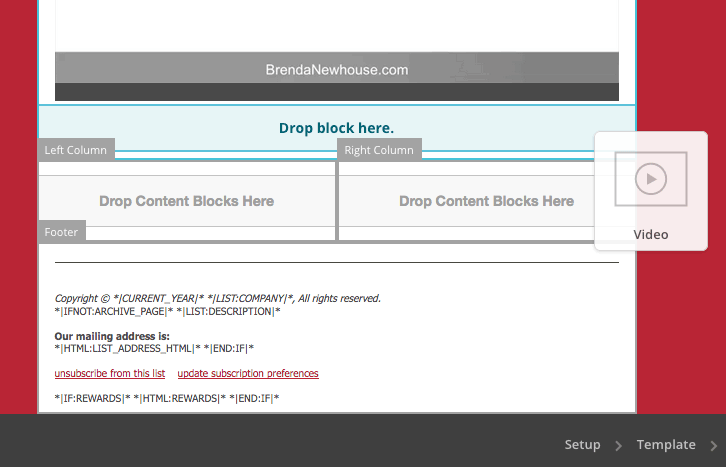
Continue holding down your mouse to drag the Video content block into your email. When you have your mouse positioned in your email where you’d like the video content block to appear, you should see a “Drop block here” indicator appear in your email. When this happens, it is MailChimp’s way of telling you where your video content block will be inserted. This is when you can let go of your mouse to actually place the video content block in your email.
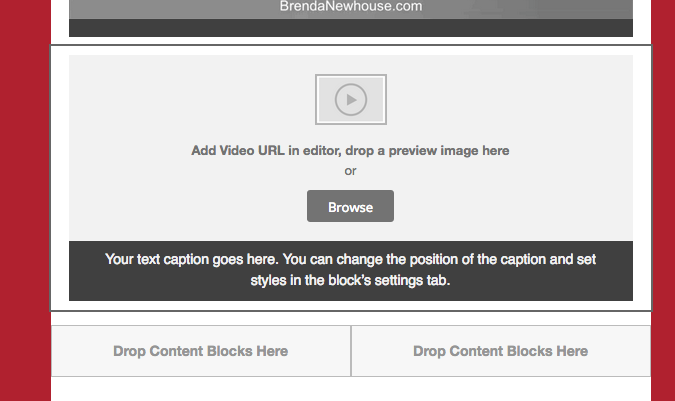
This is what your email will look like when the video content block has been successfully dropped into your email.
Now that the MailChimp video content block is in place in your email, look at the right-hand side of your MailChimp screen where you edit your content. You should see options for you to edit the video content block.
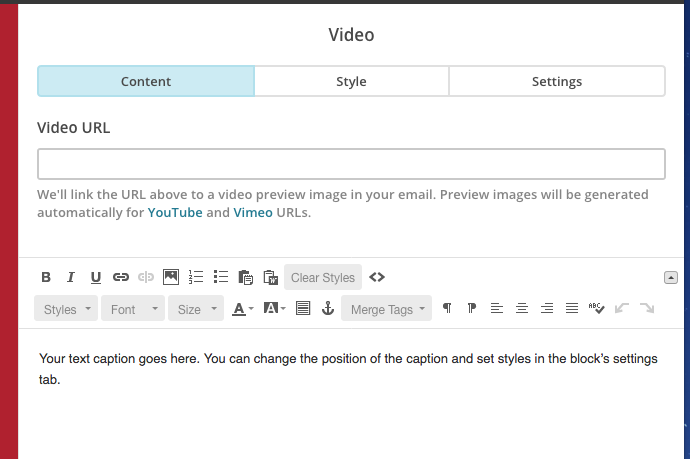
First, you will want to put in the full URL to your video. MailChimp accepts URLs from a number of providers.

The video provider I use is YouTube. So the options you will see in the next steps are how things look when using the MailChimp video content block with a YouTube video.
After pasting in the video’s URL, MailChimp will display additional options for the video thumbnail. By default, the MailChimp video content block will pull a thumbnail from a YouTube or Vimeo video. But I usually want a different thumbnail than what it pulls. So I create my own thumbnail and click Replace.
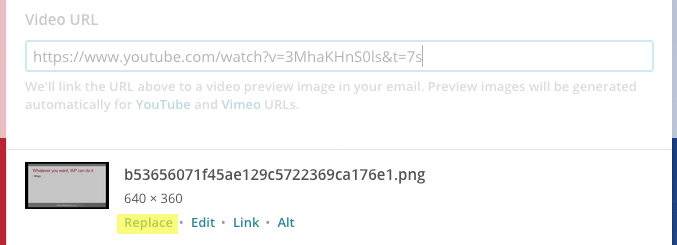
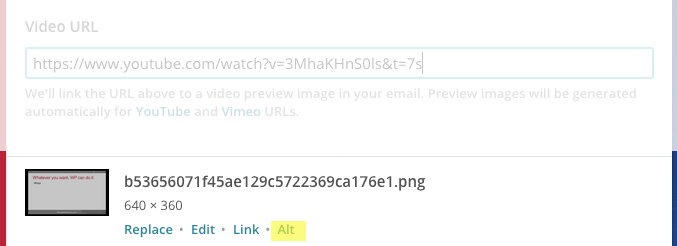
Once you click Replace, you can upload your desired video thumbnail. I will also click the Alt link to type in a description of what the image says/represents just in case the video thumbnail image doesn’t appear when someone looks at the email.
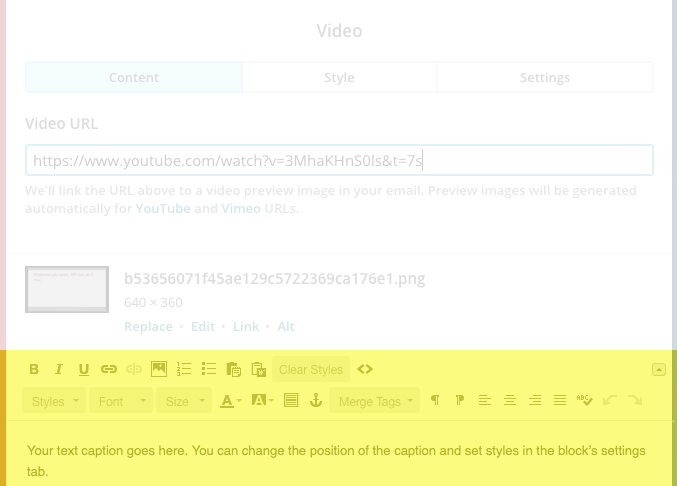
Next, you’ll want to edit the video content block’s caption. If you don’t want any caption overlaying the video, delete the sample MailChimp text.
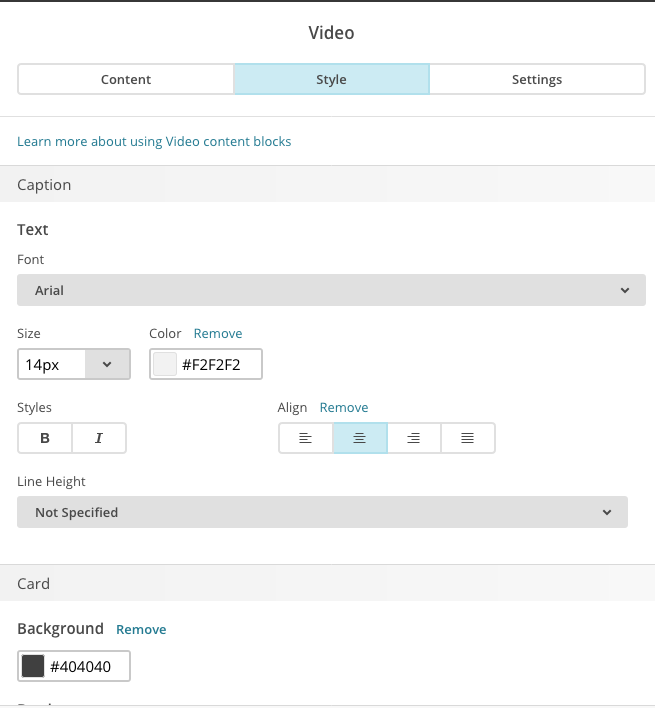
Now you can decide if you would like to change the font and background color for the caption area. You do this by clicking Style in the editor and then making whatever changes to the font and color you’d like.
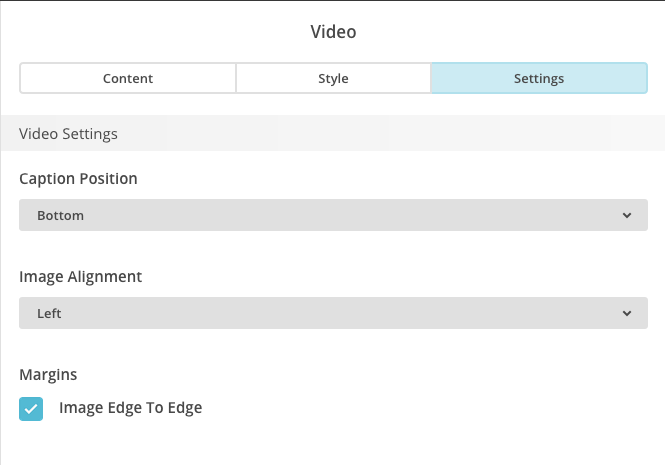
The MailChimp video content block also has some settings you can work with that will allow you to decide on the position of the caption and width of the thumbnail image. You can change these options by clicking Settings.
Leave a Reply