This is part of a series of free Jigsy tutorials that walk you through not only how to do the essentials to build your own website in Jigsy as easily as possible, but also, in each tutorial, I will offer advice along the way to help make your website be its strongest for promoting your business. So let’s get started with today’s Jigsy Tutorial: Adding Images to Your Web Page
This tutorial will teach you:
- How to add images to your web page in a way that search engines like
- How to add images to pages in your Jigsy website.
There’s a Way to Add Images to Your Website that Makes Search Engines Happy: Here’s How
Tip 1 – The Name of Your File is Everything
Do you know what search engines see when they look at your web page images? Nothing but text. If your file for your image is named 001.jpg, the search engine can only assume your image is about the number “001.” If your file is named “cactus-flower.jpg,” the search engine can assume that your image’s subject is a cactus flower.
Before working in you Jigsy website, be sure to have your files already named.
Tip 2 – Give Each Image Descriptive Text
This next tip is going to sound a little technical, but really, Jigsy makes it easy. Besides naming your file to coordinate with what the image depicts, you can apply what is known as an “alt” attribute to your image. “Alt” attributes are what shows up instead of the image if the image doesn’t load; it is text, normally a short sentence of text, that describes the image.
If your image file is named “cactus-flower.jpg,” your “alt” attribute might read something like: “White cactus flower in the morning desert sun.” This sentence makes perfect sense to a human and it uses the keyword “cactus flower.” By using the keyword that is in the file name, you are telling search engines in two different ways that the file has to do with cactus flowers.
In the how-to portion of today’s tutorial, I will show you how to add your “alt.”
How to Add Images to Your Website Pages in Jigsy
To begin, you need a text/content block with text in it. If you haven’t added any content blocks to your pages or added text to your pages, see this tutorial.
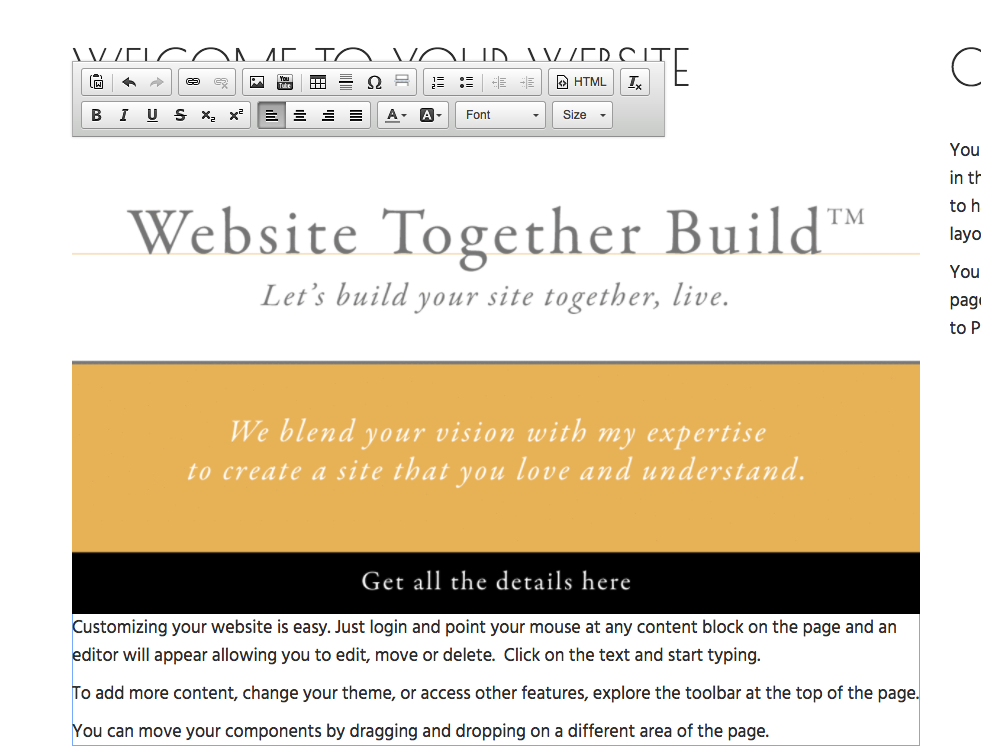
To edit the content area on your web page and add images, just click once in the text area you’d like to edit. When you do, an editing toolbar will appear.

Click in your text at the position you’d like your image to appear. In my case, I’m going to click just before the “c” in customizing in my example below. And then click the image icon, located in the top row of the editing toolbar.
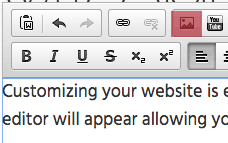
Next, you’ll be asked what type of image you would like to insert.
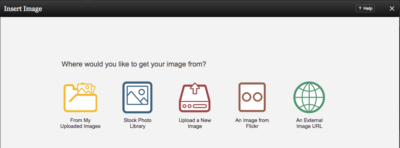
I highly recommend actually uploading your images or working with images you have previously uploaded over working with external images. External images will be pulled from other websites; your website won’t actually have the image on it. This means your website will be dependent upon the other website; if the other website takes down the image, your website won’t be able to show it. Also, if you are loading an image that is located somewhere else on the web, it doesn’t help your search engine rankings and your website won’t show up in image searches if the image isn’t actually located on your website.
In this tutorial, I am going to choose “upload a new image.”
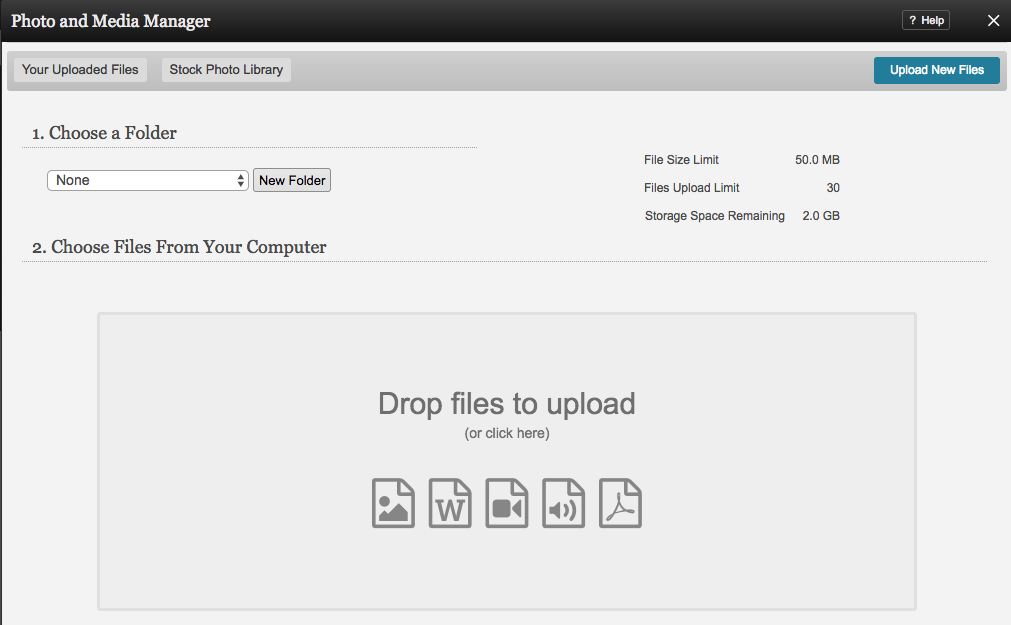
You can organize your images in folders within Jigsy. If you wish to do that, you can click the New Folder button. This might make your images easier to locate in the future.
Please note that on the right-hand side of the dialog box, Jigsy shows how much storage space remains in my account. Keep your file sizes as small as possible for your images so you use up your space slowly. You can upgrade your Jigsy account if you need more storage space in the future.
You can click and drag your file in the space that reads “drop files to upload.”
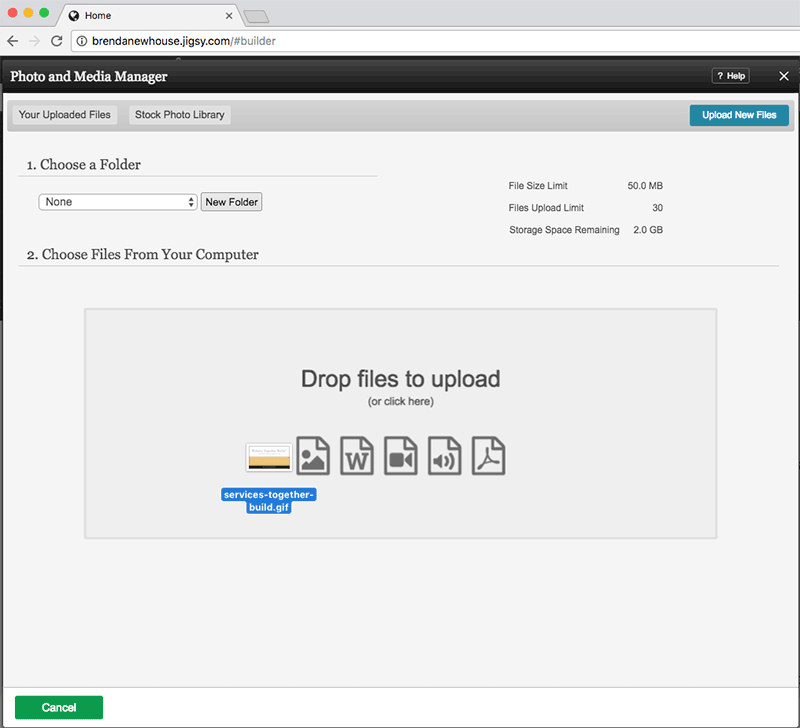
Once you drag your image into the media uploader, you have a bunch of options. The option I want you to pay the most attention to is the Alt Text option.

When you click the “Alt Text” button, you will be prompted to describe the image. I have filled out the field (shown below) to depict what my image is about.

Lastly, to insert my image, I will click the green “Insert Image” button in the lower-right corner.
Once you click “insert image,” your image should appear where you had your cursor.
Leave a Reply