This is the beginning of a series of WordPress Tutorial Videos.
You can view the video or scroll below to read the transcript.
This video explains how to install a WordPress theme through the WordPress Dashboard.
To learn how to install a WordPress theme by FTP, watch our “Install a WordPress Theme with FTP in Five Minutes” video.
I assume that you already have an instance of the WordPress framework installed and that you know how to login to your WordPress Dashboard.
Also, this video is being recorded using the Firefox browser and is being recorded at a smaller size in order to keep the video size down.
In order to install a WordPress theme, the first thing you have to do is to actually have a WordPress theme. In this video, I will show you to ways of getting a theme.
The first way is through the WordPress Dashboard and the second way is by purchasing a theme.
Dashboard Approach
All you have to do is to go Appearance –> Themes
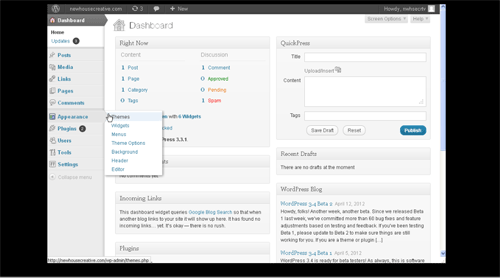
Next, click on the Install Themes tab.
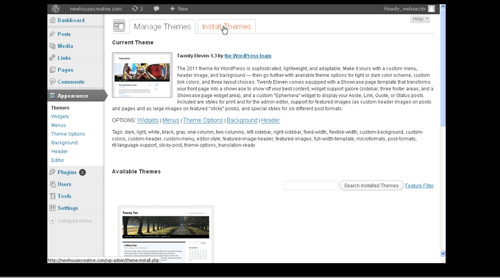
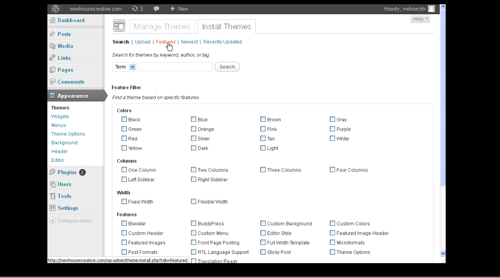
You can search for a theme any way you want, whether it is by color, size, subject, or features. You can also select the “featured” or “newest” link, which will show themes in the WordPress repository that are filtered according to the term selected.
Once you have found a theme that interests you, you can click the Preview link to see the theme demonstrated.
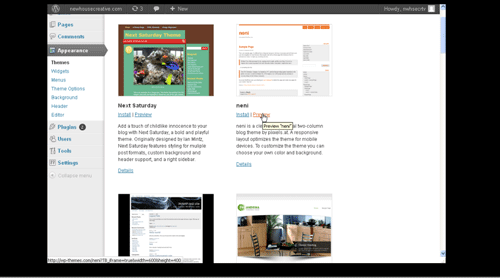
If, upon preview, you like the theme, close the preview pane and click the “install” link.
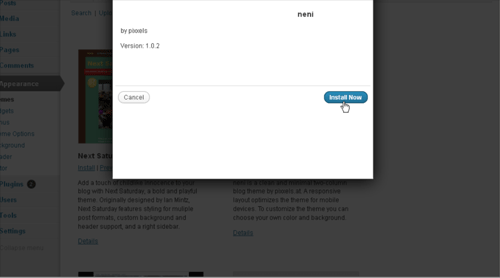
The theme will automatically install. You will then see a message showing that the theme has successfully installed; on that screen, click the “activate” link.
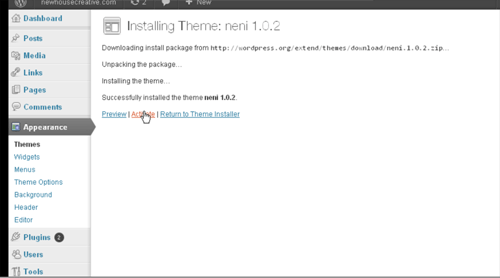
Once you have activated the WordPress theme, it should be live on the site. Keep in mind there are frequently things that need to be configured to make the theme behave the way it is demonstrated. View your site and press the browser’s “refresh” button to see the theme.
Upload Approach
You can also buy a WordPress theme. You can also get free themes. When you get a theme from somewhere other than the WordPress repository, you will need to download it. A theme is usually delivered in .zip format; leave the theme zipped if you plan to install it through the WordPress Dashboard.
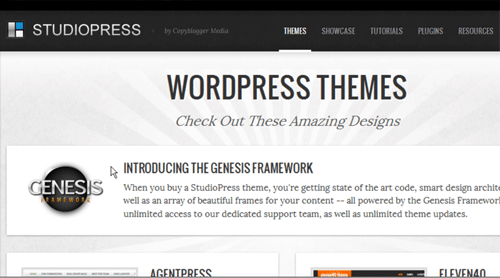
In this case, I’ve downloaded the StudioPress theme: Genesis.
Begin the installation process just like before by clicking on Appearance –> Themes
Next, click the “upload” link.
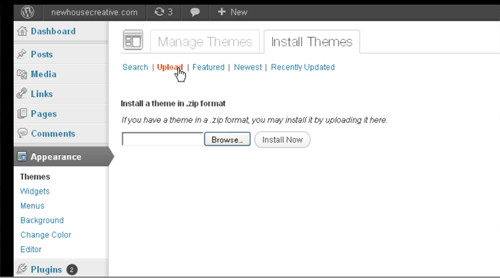
Next, click the “browse” button and browse to the zip file of your theme, which should be stored somewhere on your computer.
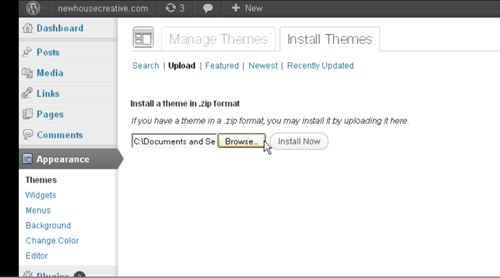
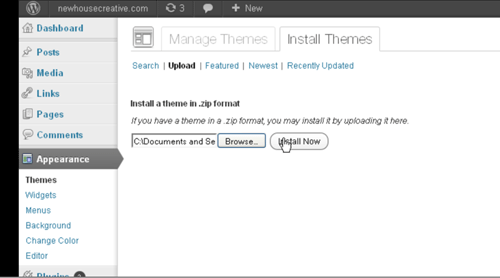
Once you have selected your zip file, click the “Install Now” button.
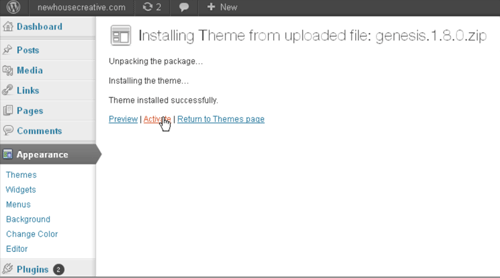
The theme will automatically install. You will then see a message showing that the theme has successfully installed; on that screen, click the “activate” link.
Once you have activated the theme, it should be live on the site. Keep in mind there are frequently things that need to be configured to make the theme behave the way it is demonstrated. View your site and press the browser’s “refresh” button to see the theme.
Excellent tutorial, very informative, thanks for sharing guys.
You are welcome. Let us know what else you would like to see on the site.